In conclusion, A Variable Frequency Drive (VFD) is an important component of many industrial applications. However, and it is critical to keep them running smoothly to maintain efficiency. Moreover, of the machinery they control.
Therefore, When a VFD fails, it can be challenging to diagnose and repair the issue. In other words, Here is a checklist for VFD repairing to help technicians ensure they are taking the correct steps to fix the problem.

Checklist for Repairing a Variable Frequency Drive (VFD)
1. Safety First: Before starting any repair work, ensure that you have read and understood the manufacturer’s safety guidelines for the VFD. Therefore, Wear personal protective equipment (PPE) such as safety goggles, gloves, and protective clothing.
2. Power Supply: Check the power supply to the VFD. Make sure the voltage and current are within the specified range. In other words, Ensure that all connections to the power supply are tight and secure.
3. Control Wiring: Inspect the control wiring to the VFD. Moreover, Check for any loose, damaged or disconnected wires. For instance, Verify that the control signals are reaching the VFD’s input terminals.
4. Motor Wiring: Inspect the motor wiring. Check for any loose, damaged, or disconnected wires. Verify that the motor is connected to the VFD’s output terminals.
5. Grounding: Check the grounding of the VFD. Verify that the ground wire is connected correctly to the ground terminal.
6. Power Module: Inspect the power module for any damage or overheating. Look for signs of burnt components, discoloration or physical damage. Ensure that the cooling system is functioning correctly.
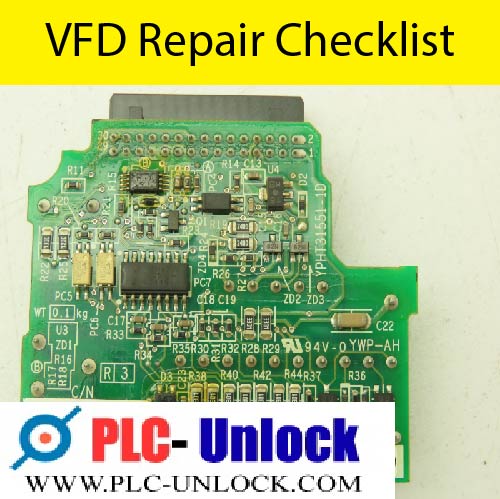
7. Control Board: Inspect the control board for any damage or overheating. Look for signs of burnt components, discoloration or physical damage.
8. IGBT Modules: Inspect the IGBT modules for any damage or overheating. Look for signs of burnt components, discoloration or physical damage.
9. Capacitors: Inspect the capacitors for any damage or bulging. Look for signs of leakage or physical damage. Replace any damaged or faulty capacitors.
10. Fan: Check the fan for proper operation. Verify that the fan is spinning and is moving air through the VFD.
11. Heat Sink: Inspect the heat sink for any blockages or damage. Ensure that the heat sink is clean and free from any debris or dust.
12. Software: Check the VFD’s software for any errors or faults. Verify that the firmware is up-to-date and that the parameters are correctly set.
13. Display: Inspect the VFD’s display for any errors or faults. Check that the display is functioning correctly and displaying the correct information.
14. Start-up and Run: Once all the repairs have been made, power up the VFD and verify that it starts up correctly. Check that the motor runs smoothly and without any issues.
15. Testing: After repairing the VFD, test it under load conditions to verify that it is operating correctly. Record the operating parameters and compare them to the specifications.
16. Documentation: Record all the repairs made to the VFD, including the parts replaced and the testing results. Keep a copy of the documentation for future reference.
17. Preventative Maintenance: Once the VFD has been repaired, perform regular preventative maintenance to ensure that it continues to operate correctly.
In conclusion, the checklist for VFD repairing can be a useful tool for technicians to follow when repairing a VFD.
By following these steps, they can ensure that all the components of the VFD are inspected and repaired correctly, reducing the risk of future failures. Remember, safety always comes first, so be sure to read and understand the manufacturer’s safety guidelines before starting any repair work.
For more information or query please contact PLC-UNLOCK we are available 24/7
Our Other Blog:
How To Program Human Machine Interface In 2023

